Von Braun
Ah~ It missed! It missed!
Author: Flyingfish812, Dubguy
Introduction
Von Braun is an extremely aggressive ship, named after the famous German rocket scientist Wernher von Braun. The ship's offensive capabilities are very fitting to this name, with its main weapon being the explosive Daisy Cutter and its aura skill being the Missile Swarm. The Kappa Drive, a Zen skill, can be used both offensively (quickly collecting energy for missiles) and defensively (using the time-slowing function to see the gaps in the invaders' bullet patterns). Overall, the playstyle is filled with violent aesthetics.
The challenge with the ship lies in controlling the main weapon. Its slight homing ability often results in missing targets. The rhythm of the main weapon is another major difficulty; if the rhythm is disrupted, you may slow down by 2-4 seconds, making it easier for invaders to shoot you down. Although a single volley from the main weapon deals up to 70 blast damage, hitting your priority targets is not an easy task.
Due to the high operational difficulty of the ship, this content can be considered an advanced tutorial. In the discussion of armor missions, it is assumed that the ship is equipped with armor-piercing missile APEX.
Main Analysis
Von Braun's main weapon is the Daisy Cutter, each dealing 31.25 points of collision damage and 3 points of blast damage, with a firing interval of 1.67 seconds. Additionally, don't forget that the maximum damage of the Missile Swarm is 138.
If you aim for a speedrun, this data will help you understand how much output is sufficient to eliminate specific invaders, especially in armor missions. If you are unsure, let's review the data.
| Invader | HP |
|---|---|
| Sparrow | 4 |
| Raven | 24 |
| Heron | 56 |
| Eagle | 99 |
| Vulture | 243 |
| Condor | 405 |
| Roc | 729 |
Based on the data:
-
A Sparrow requires two missiles or two instances of blast damage.
-
A Raven needs 24/3 = 8 missiles, so one Missile Swarm can eliminate 5 Ravens (6 if blast damage is included). Note that one Daisy Cutter will cause about 10 points of overkill damage.
-
A Heron requires 2 Daisy Cutters to be eliminated (about 10 points of overkill damage) or 56/3 = 18.6 = 19 missiles (approximately 57 health points). This means, to repel a wave with 1 Heron and 4 Ravens, you need to deal with the Ravens first. If there are 2 Herons, the total damage required is 2*57 + 4*24 = 210. A full Missile Swarm deals 138 points of damage, so you need 72 extra damage: you need to hit three Daisy Cutters while avoiding overkill damage. You have two options: kill the two Herons before using Missile Swarm, or eliminate one Heron first, then use Missile Swarm and finish off the rest, or hope that the erratic flight path of the Daisy Cutter (or leftover missiles from the previous wave) hits enough targets.
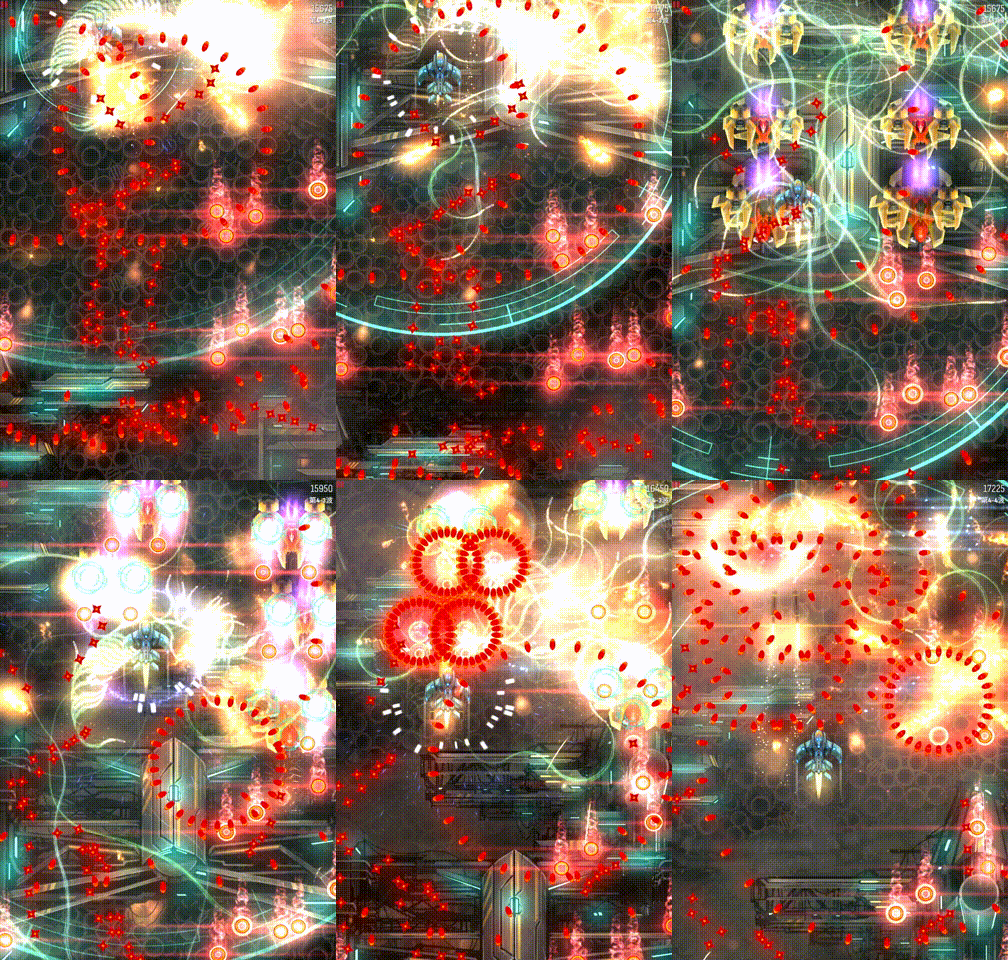
- An Eagle has 99 points of health, which is about 3/4 of a full Missile Swarm or requires 3 Daisy Cutters. If there are 2 Eagles, one Missile Swarm plus one round of main weapon fire deals 204 points of damage, which is almost enough. Sometimes there are other invaders on the field, so you need two rounds of main weapon fire to kill them.
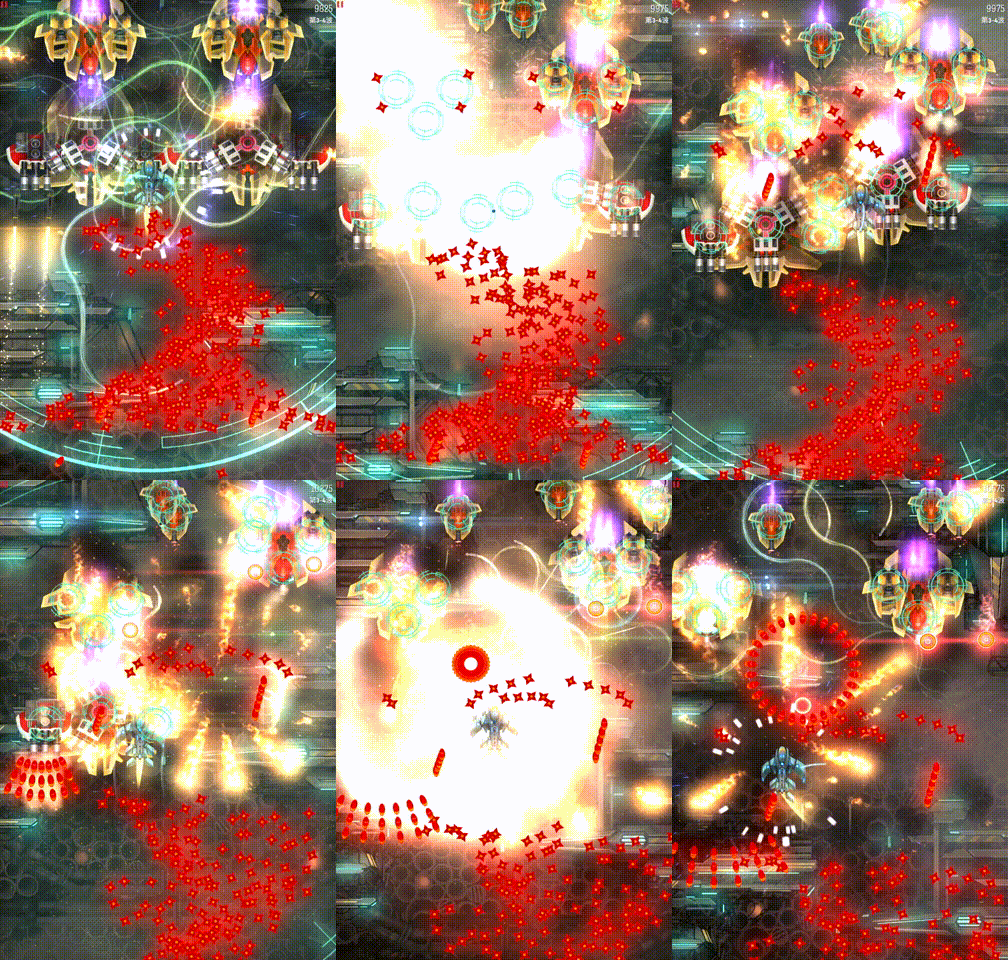
- A Vulture has 111 HP left after 4 Daisy Cutters, meaning missiles can instantly kill it with 27 overkill damage. Theoretically, 3 Daisy Cutters and one full Missile Swarm with some extra blast damage should be enough (you need precise calculation of main weapon damage limits, but I don't recommend relying on this). The key to eliminating a Vulture is close-range attacks. You can also eliminate small invaders behind the Vulture, as blue energy is absorbed faster than yellow energy.
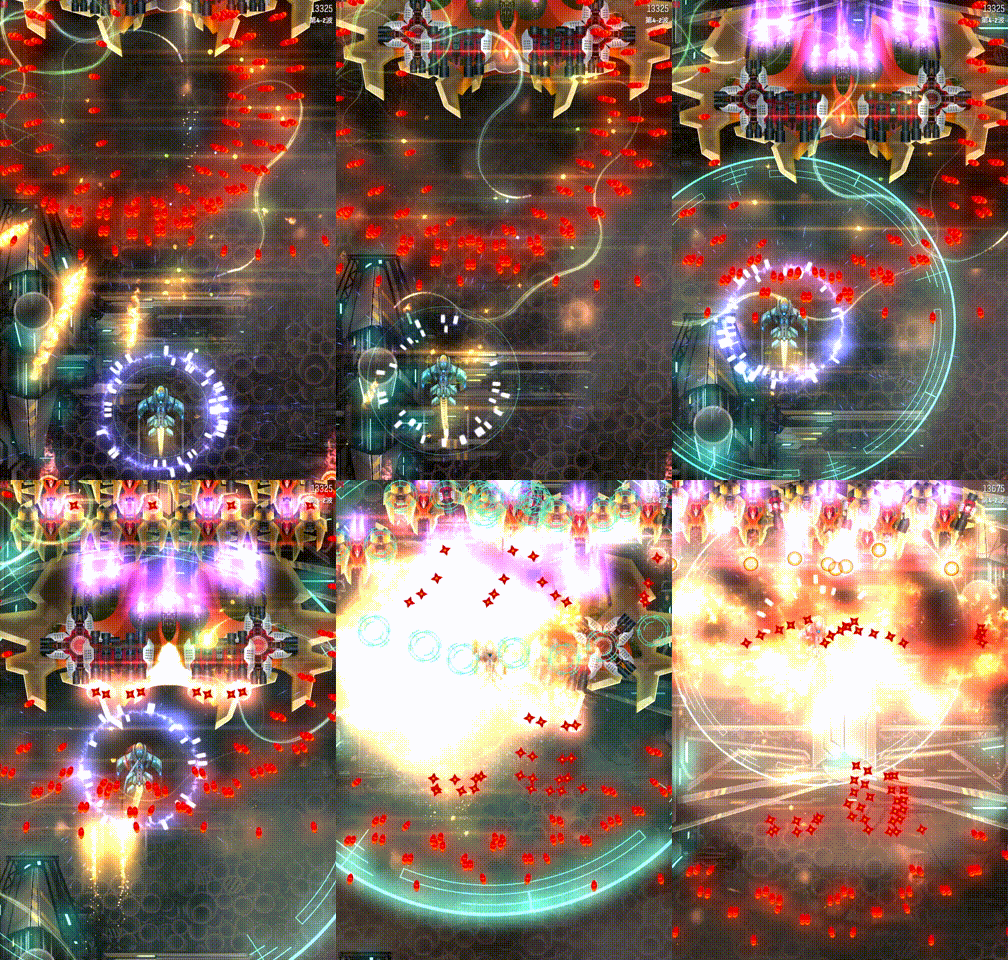
- For Condor and Roc, be careful not to stay too high to avoid the main weapon shooting past the invaders. The two turrets in the middle of the Condor can sometimes be inside grazed. You can eliminate the Condor while controlling energy before the Doomsday Bomb explodes. When the Condor presses down, you can use two rounds of missiles to clear the back line first. Additionally, adjacent turrets can be dismantled simultaneously.
Main Usage
The main weapon of Von Braun is located behind the core, with hitboxes on both sides. When you trigger the main weapon, the Daisy Cutters will generate on the body and have an effective collision box, but will temporarily attach to the ship. When the missiles detach from the body, they will recoil slightly backward. Shortly after this round of main weapon fire is launched, the next round of missiles will be ready to fire. Typically, you can understand that the main weapon will complete its next charge the instant it hits an invader (excluding close-range instant explosions).
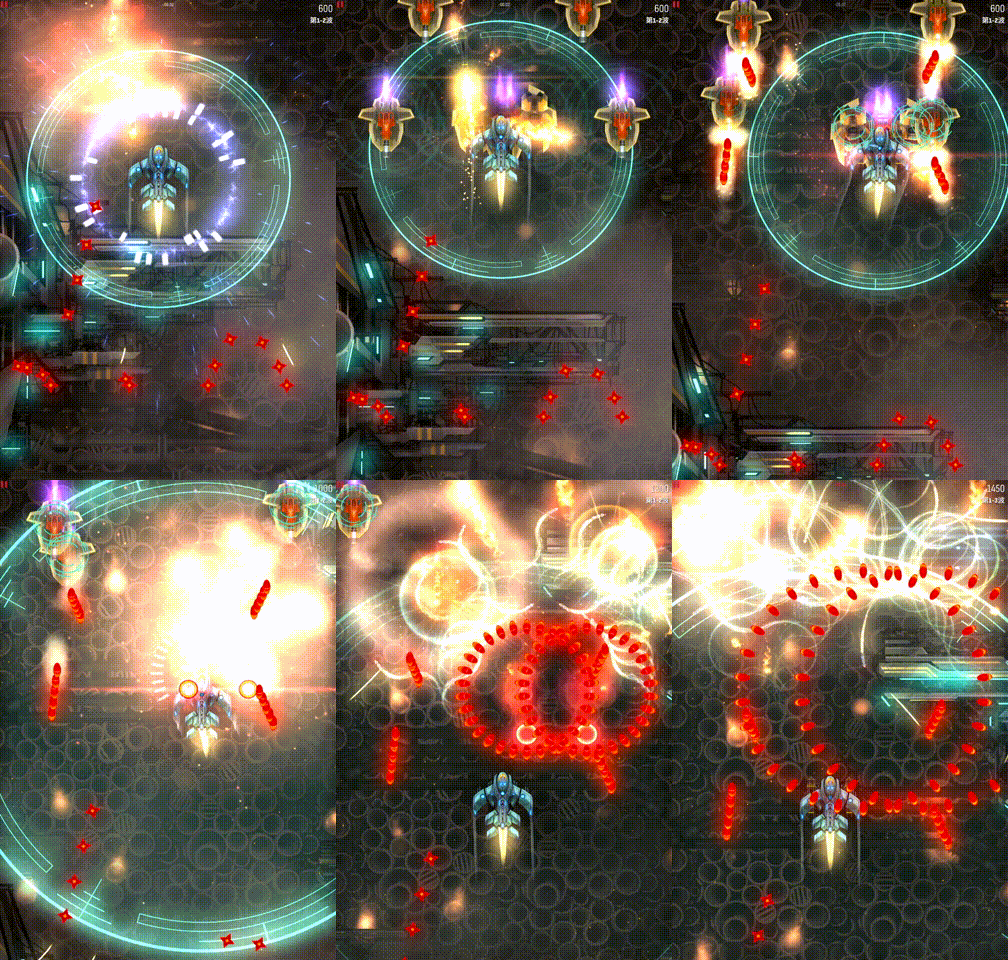
Especially for the early stages, you need to fire in advance or engage in close-range attacks (in later waves, you sometimes need to manage your energy carefully). To do this, you need to be familiar with the hitboxes of the Sparrow, Raven, and Heron. Ideally, 1-1 is the only wave where you might need to restart based on luck; the subsequent waves can be effectively eliminated using a combination of the main weapon and missiles. Note that in some invader sets, you need to kill one invader first before using missiles, and in other waves, you need to use missiles right away. Below are examples of situations where you use missiles immediately and where you prioritize eliminating an invader with the Daisy Cutters before using missiles.
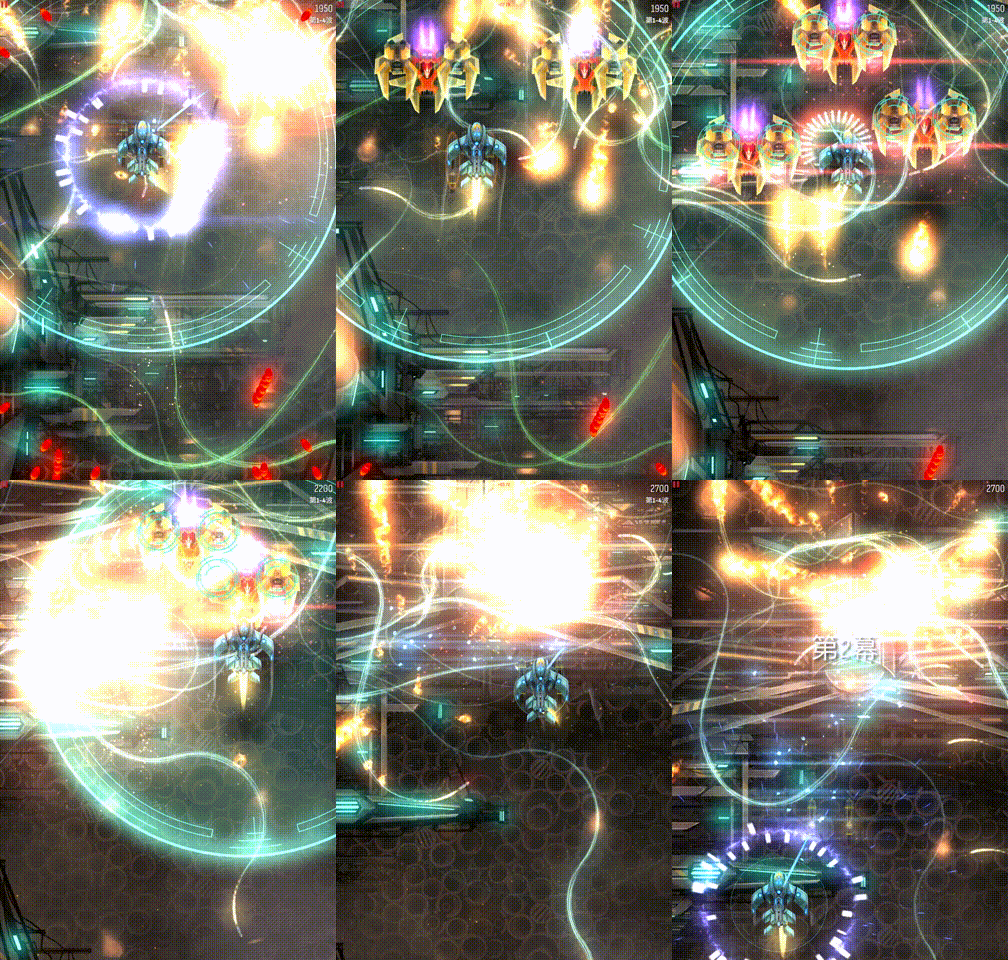
Due to the delayed hit of the main weapon, you need to master the timing of tapping the screen to fire the main weapon (most of the time, you can release your finger to activate the Kappa Drive and think about your next move). The simplest method is to tap the screen when the last invader is killed by the Missile Swarm. For larger and tougher invaders, you sometimes need to try different strategies based on the previous wave's attack pattern, whether or not you are managing your energy (through close-range attacks or releasing missiles at higher or lower positions for the next wave). Generally, for Vultures, you can fire at the bottom of the screen once the shadow appears.
Here are some strategies for dealing with other invaders:
-
Sparrow: You can stay on one side and let them drift towards you. Be careful due to the lower hitbox.
-
Raven: You can stay on one side or go directly for a close-range attack since the turrets are on both sides.
-
Heron: You can stay on one side or the center, but there is a turret hitbox below. Since the core of the ship is higher than the missile position, stay at a higher position.
Missile Swarm and Kappa Drive
The Missile Swarm launches from around the ship in a specific manner (within the range of -π/4 to 5π/4), so you might need to adjust the ship's position to ensure the missiles effectively eliminate the invaders. It's important to note that the Missile Swarm resets only after all the previous missiles have missed their targets.
In the later acts, when invaders become denser, close-range attacks against Heron, Eagle, or Roc invaders won't replenish your energy easily. Therefore, you either need to conserve energy or attempt to eliminate invaders in a way that allows you to gather enough energy. Remember, the Missile Swarm refreshes only after the last missile has disappeared, so theoretically, if you can avoid this situation in attacks involving, for example, three Eagles or requiring two rounds of missiles, you will save more time (like using excess missiles to finish off the next wave of invaders).
In the early acts, you should frequently use Kappa Drive to gain more energy for charging the missiles. In the later stages, avoid using it frequently unless necessary. Due to the time-slowing function of Kappa Drive, you can navigate through denser bullet patterns, but it's best to use an iPad and make small finger movements to reduce difficulty. Due to potential screen shakes, try to stay still for as long as possible. Typically, you will use Kappa Drive to gain a second round of missiles for the current wave of attacks, but try to avoid overusing it. Aim to fill the aura to just the right size.
Theoretically, when fighting a Vulture, there is an optimal number of Kappa Drive particles to generate before attacking. Note that frequently tapping to use Kappa Drive has no effect; you need to release your finger to generate energy particles.
Some Invader Sets
-
Sparrows
The first wave consists of four Sparrows. Usually, this is quite a luck-dependent situation. Your strategy most of the time is to set up the main weapon on both sides, aiming between two Sparrows. Whether the missiles can accurately hit the targets is left to chance. If they hit, great; if not, just restart:
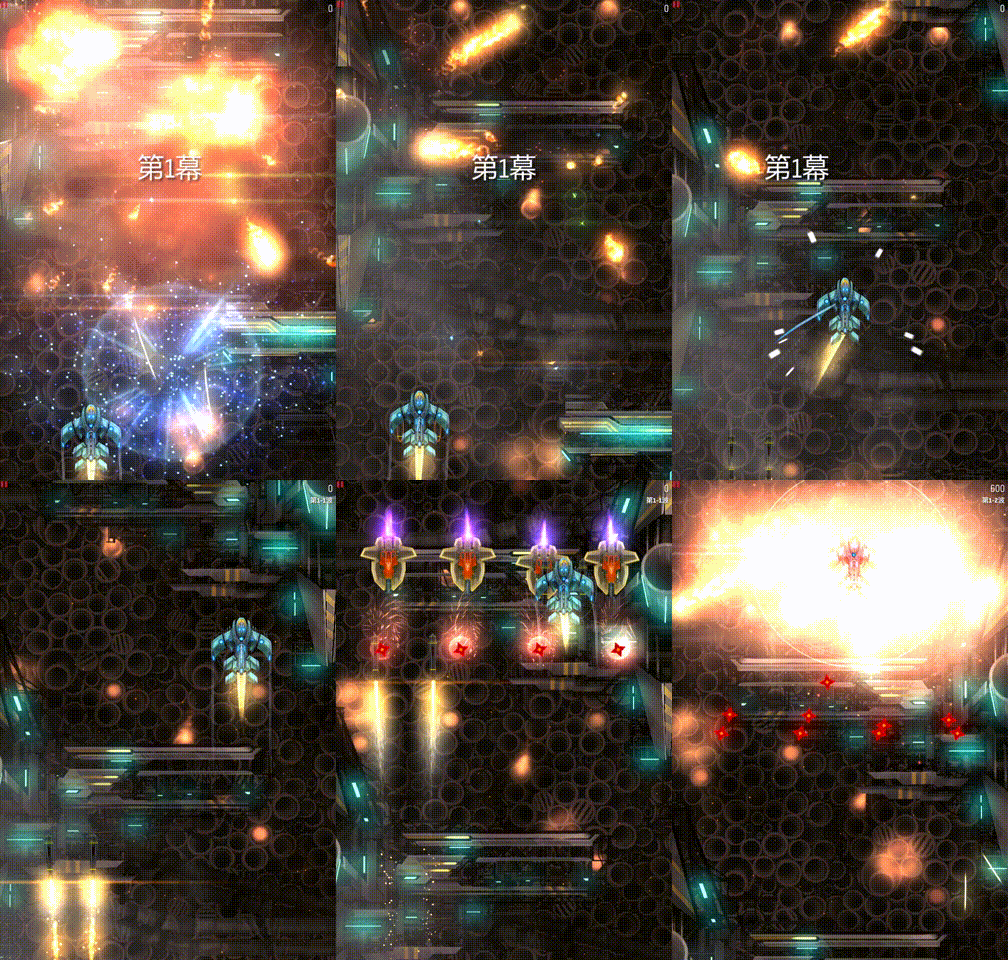
The Sparrow swarm has been removed in the current version. If your device's performance is not optimal, the Missile Swarm at the beginning will only target a small portion of the invaders. One strategy you can try is to quickly use a small round of missiles first, followed by a full aura of missiles. You can also use the blast damage from the Daisy Cutter to reduce pressure, ensuring you still have plenty of energy after eliminating the invaders.
-
Vulture (instant kill)
-
Perfect prefire
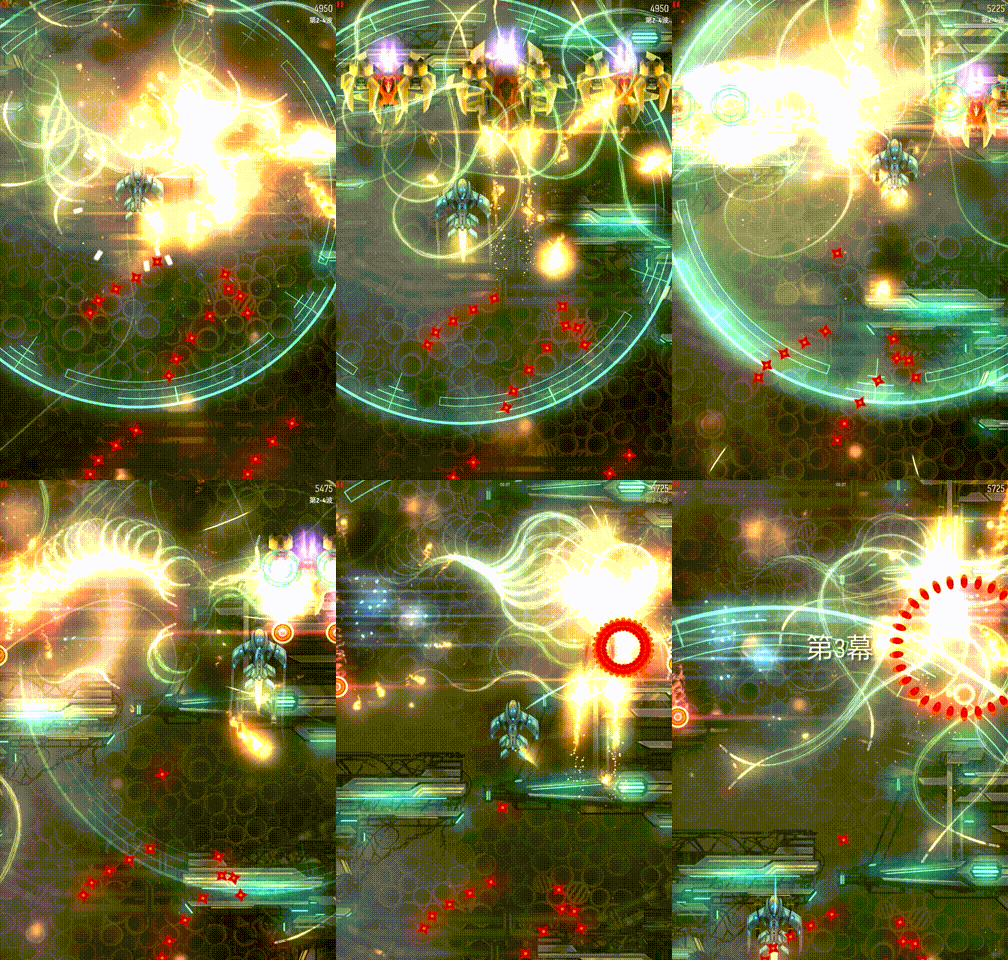
This technique involves using the strategy of pre-positioning the main weapon. The general idea is that when the previous round of the main weapon hits, the next round is ready. Before the next wave of invaders enters the screen, you prepare the main weapon in advance and use the missiles on invaders from the other side, achieving continuous elimination of enemies.
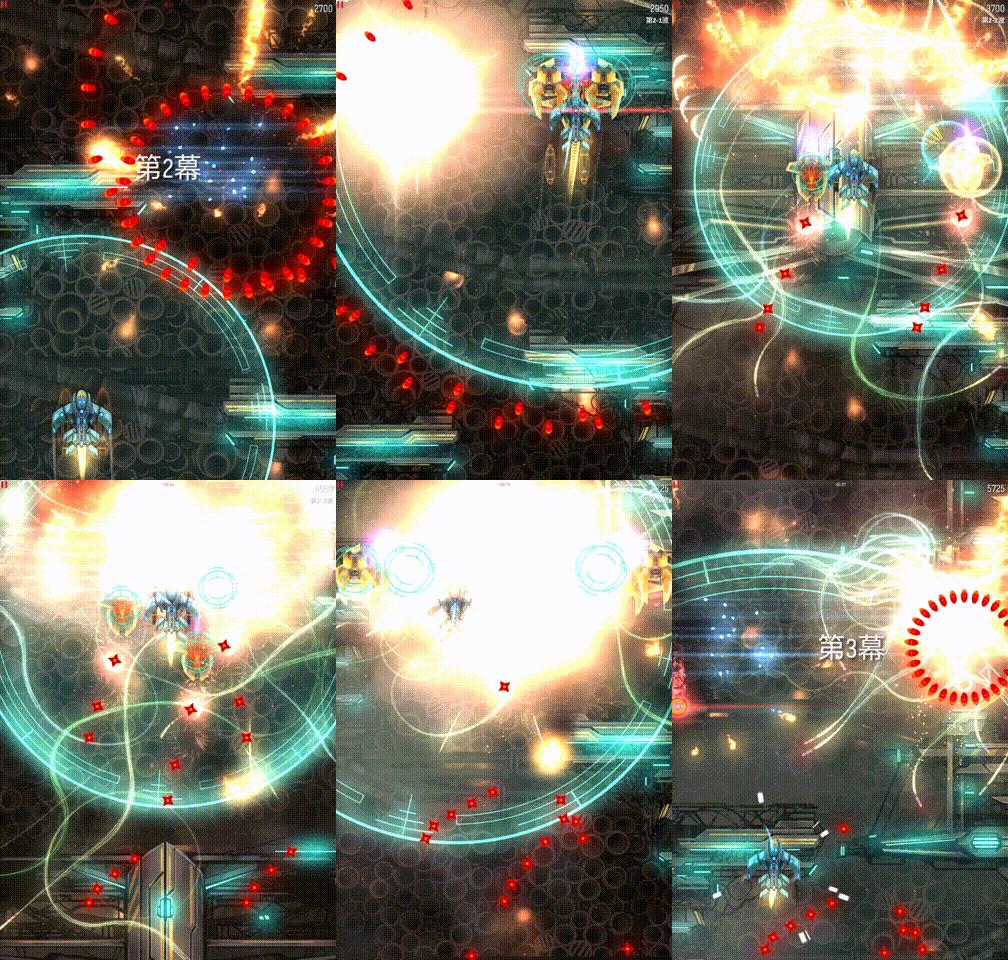
-
2 Herons + 4 Ravens
More random situation:
Situation doesn't necessarily need luck (instant kill 2 Herons continuously):
And with some other invaders:
-
Eagle + many other small invaders
Pay attention to energy management:
Eagle front with many invaders back. The main is for Eagle and Missile Swarm at back:
-
2 Eagles
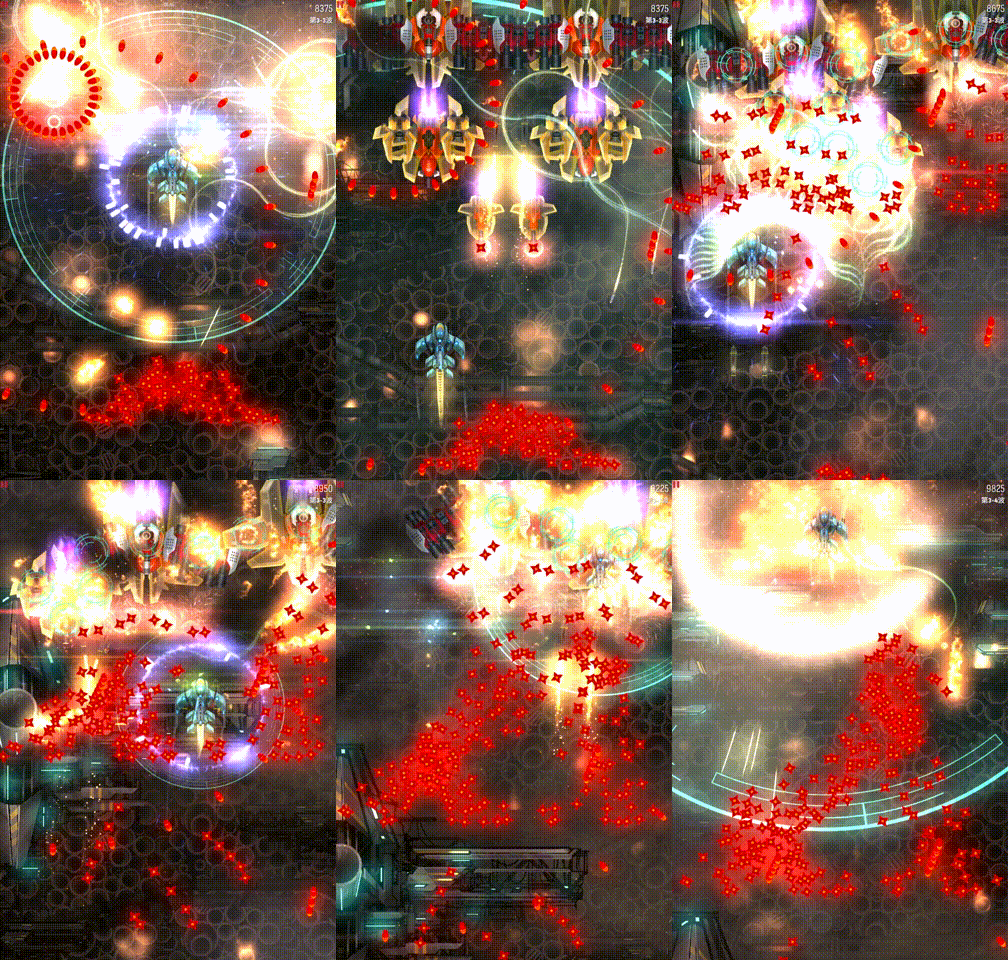
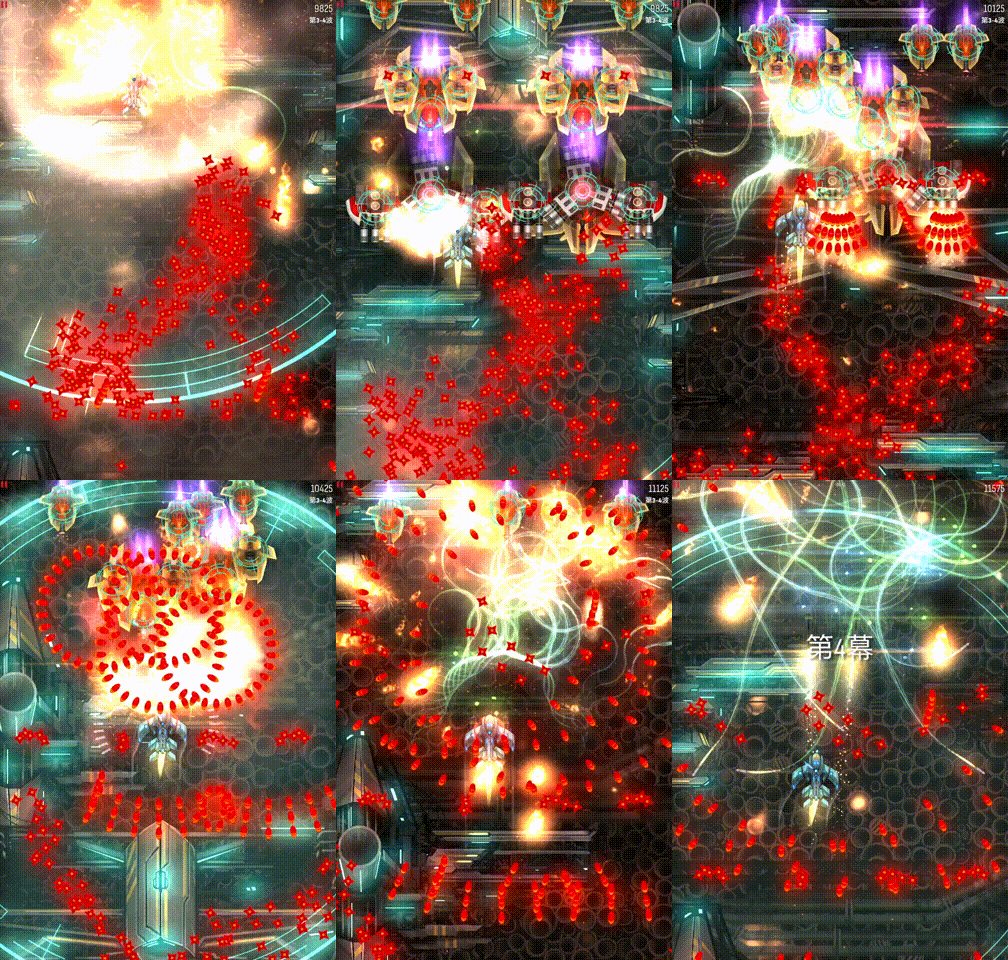
There isn't a single solution for this type of formation, but the common strategy is to prefire the main weapon to alleviate the pressure caused by Eagles as much as possible. Additionally, pay close attention to the invader formations and adopt the most advantageous approach to eliminate them.
-
Pop 2 turrets on Roc
-
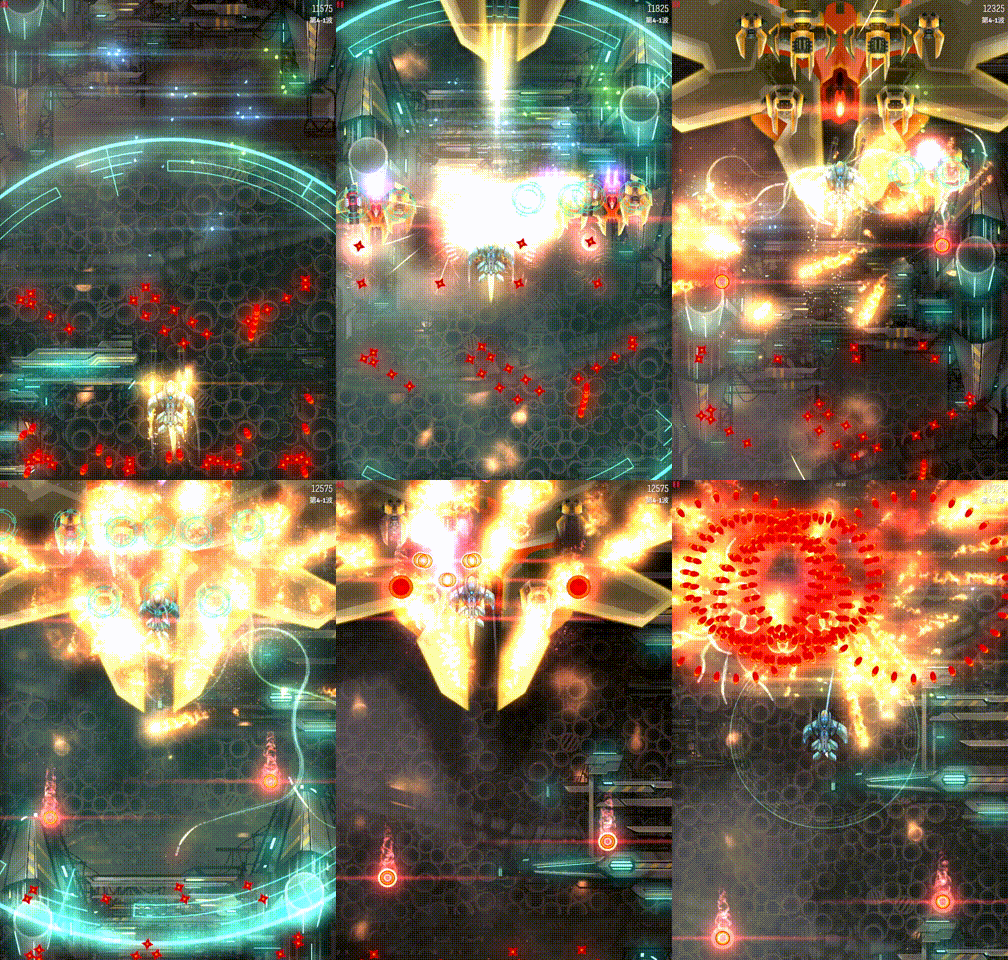
Condor
Graze the pellet wall:
Kill before Doomsday Bomb:
Condor come down:
Kill the 4 ravens at front and graze the Condor:
Conclusion
Operating Von Braun is quite challenging. From a speedrun perspective, its annoyance level is comparable to the difficulty of Jeria's gambling on Eagle convergence. The main difficulty with this ship is that nearly every main weapon position must be precise; any mistake can disrupt the rhythm and slow down your speed. If you enjoy the aesthetics of violence, you can experiment and find more efficient attack strategies. For the vast majority of players, mastering Von Braun requires a thorough understanding and practice of its main weapon mechanics.